这里写目录标题 简介一、安装并配置PHP1. 安装PHP1.1. 更换为阿里云的yum源:1.2. 为 PHP8.1 启用流模块:1.3. 安装 PHP8.11.4. 安装PHP的扩展1.5.
通过linux搭个人博客需要的工具为Nginx、Mysql、PHP的工具,在此篇文章中会详尽介绍这些软件的用途。并且为一些在安装的过程中遇到的报错进行解决并修复。
安装配置个人博客需要mysql、nginx、以及php,在Wordpress官网有说明:
Recommend PHP 7.4 or greater and Mysql 5.7 or MariaDB version 10.3 or greater.
建议使用PHP 7.4或更高版本以及MySQL 5.7或MariaDB版本10.3或更高版本
所以在这里我使用的是:mysql 5.7、php 8.1.14
在之前的文章里面详细的说明了安装MySQL和nginx的方法,需要的话可以自行查看:
MySQL:https://blog.csdn.net/m0_63684495/article/details/128748229
nginx:https://blog.csdn.net/m0_63684495/article/details/128748310
我的博客:www.lcgui.cn
yum -y install https://mirrors.aliyun.com/remi/enterprise/remi-release-7.rpm#若显示已经安装则可跳过此命令,因为有的系统自带了yum -y install yum-utils yum-config-manager --enable remi-php81#如果为root权限则不需要 sudo,带上也没影响。sudo yum install -y phpsudo yum install php-cli php-fpm php-mysqlnd php-zip php-devel php-gd php-mbstring php-curl php-xml php-pear php-bcmath php-JSON php-Redis php-common php-opcache php-memcached --skip-broken#运行下面的命令,查看已安装的 PHP 版本,只要能显示版本,就证明 PHP 已经安装成功!php -v#若提示已经存在用户,跳过此命令往下继续做即可useradd nginx注意:useradd nginx 会创建名为 nginx 的用户,同时这个用户默认就属于名为 nginx 的用户组。因此不需要再单独创建名为 nginx 的用户组了。
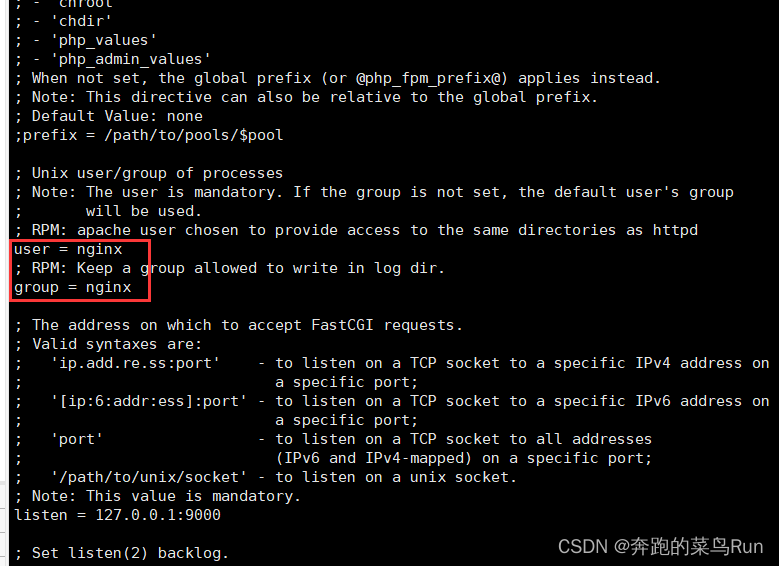
vim /etc/php-fpm.d/www.conf通过编辑器修改 /etc/php-fpm.d/www.conf 配置文件,把 user 用户和 group 用户组从默认的 apache 修改为 nginx。修改后的截图如下:

修改后保存修改即可。
#开启服务systemctl start php-fpm#开机自启systemctl enable php-fpm/usr/local目录下,所以#先进入到目录下cd /usr/local#下载WordPresswget Https://wordpress.org/latest.tar.gz#下载完成后下载的为压缩包,需要进行解压tar -xzvf latest.tar.gz步骤1.1解压出来的文件夹名为 wordpress,里面存着所有 WordPress 需要的源码文件。
这个解压出来的 wordpress 文件夹放在任何位置都可以,但必须配置好权限,让 PHP 所在的用户组有读写权限。并且更改其用户为 nginx
chown -R nginx:nginx wordpress/至此,所有需要的文件准备齐全,只需要将nginx的指向目录替换为wordpress的目录,并为wordpress创建一个数据库,即可。
与配置SSL证书时相同,我们只需要更改server{}里面的配置即可,因为下载nginx,server{}配置在default.conf中,只需要在这里面更改即可。
更改完的配置如下,请结合nginx安装教程里面的ssl配置文件对比看,会更简单
server { listen 80; server_name www.lcgui.cn; #需要将yourdomain替换成证书绑定的域名。 rewrite ^(.*)$ https://$host$1; #将所有HTTP请求通过rewrite指令重定向到HTTPS。 location / { index index.html index.htm; }}server { listen 443 ssl; server_name www.lcgui.cn; ssl_certificate /etc/nginx/ssl/lcg.pem; ssl_certificate_key /etc/nginx/ssl/lcg.key; ssl_session_cache shared:SSL:1m; ssl_session_timeout 5m; ssl_ciphers HIGH:!aNULL:!MD5; ssl_prefer_server_ciphers on; # 重要: # root 用来指定 wordpress 文件夹的存放路径 # index 中,必须把 index.php 添加到第一位。因为 wordpress 项目的首页是 index.php location / { root /usr/local/wordpress; index index.php index.html index.htm; } # redirect server error pages to the static page /50x.html # error_page 500 502 503 504 /50x.html; location = /50x.html { root html; } # pass the PHP scripts to FastCGI server listening on 127.0.0.1:9000 # 重要: location ~ \.php$ { # root 用来指定 wordpress 文件夹的存放路径 root /usr/local/wordpress; # wordpress 默认运行在 9000 端口,请确保服务器的 9000 端口没有被其他程序占用! fastcgi_pass 127.0.0.1:9000; # 首页的文件名 fastcgi_index index.php; # $document_root 是一个变量,表示 root 选项的值。而 root 的值就是 wordpress 文件夹的存放路径 fastcgi_param SCRIPT_FILENAME $document_root$fastcgi_script_name; include fastcgi_params; } }创建一个wordpress的数据库,空的数据库即可
create database wordpress;# 重置 php 服务systemctl restart php-fpm# 重启nginxsystemctl restart nginx重启完成后,打开浏览器,输入你自己配置nginx的域名即可访问wordpress的配置页。

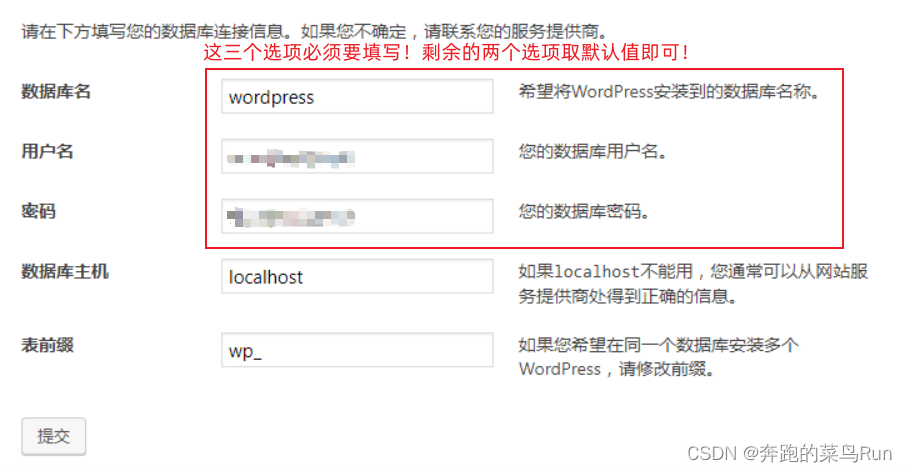
点击 “现在就开始” 开始设置,输入数据库名、数据库用户名、数据库密码 其余默认即可

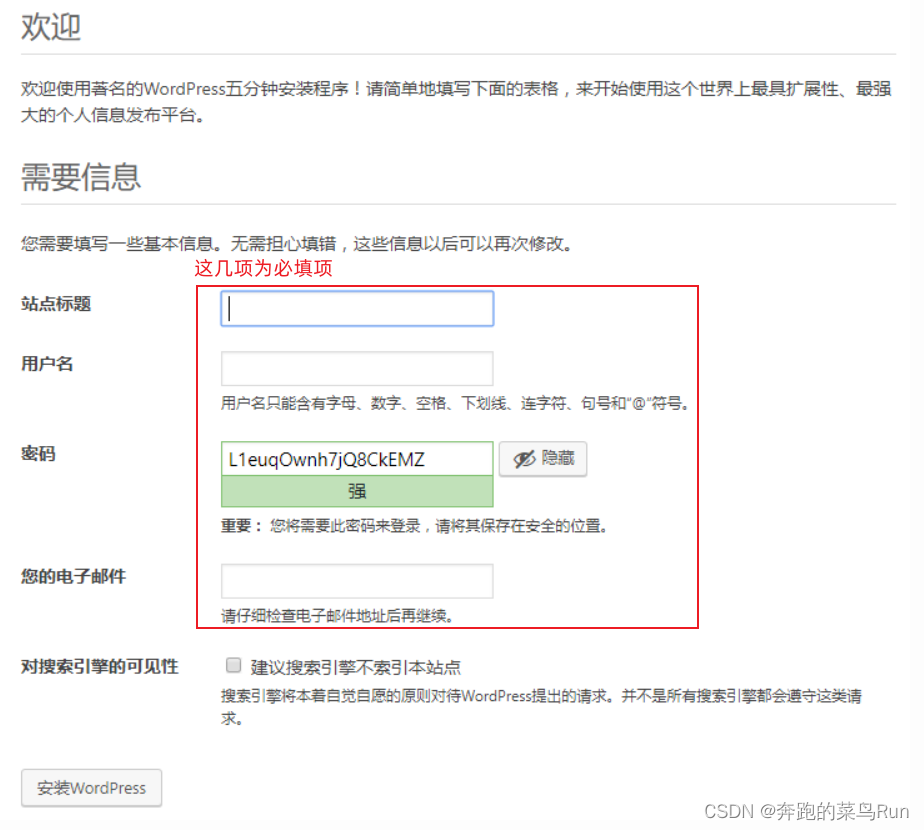
其余按自己需求填写即可

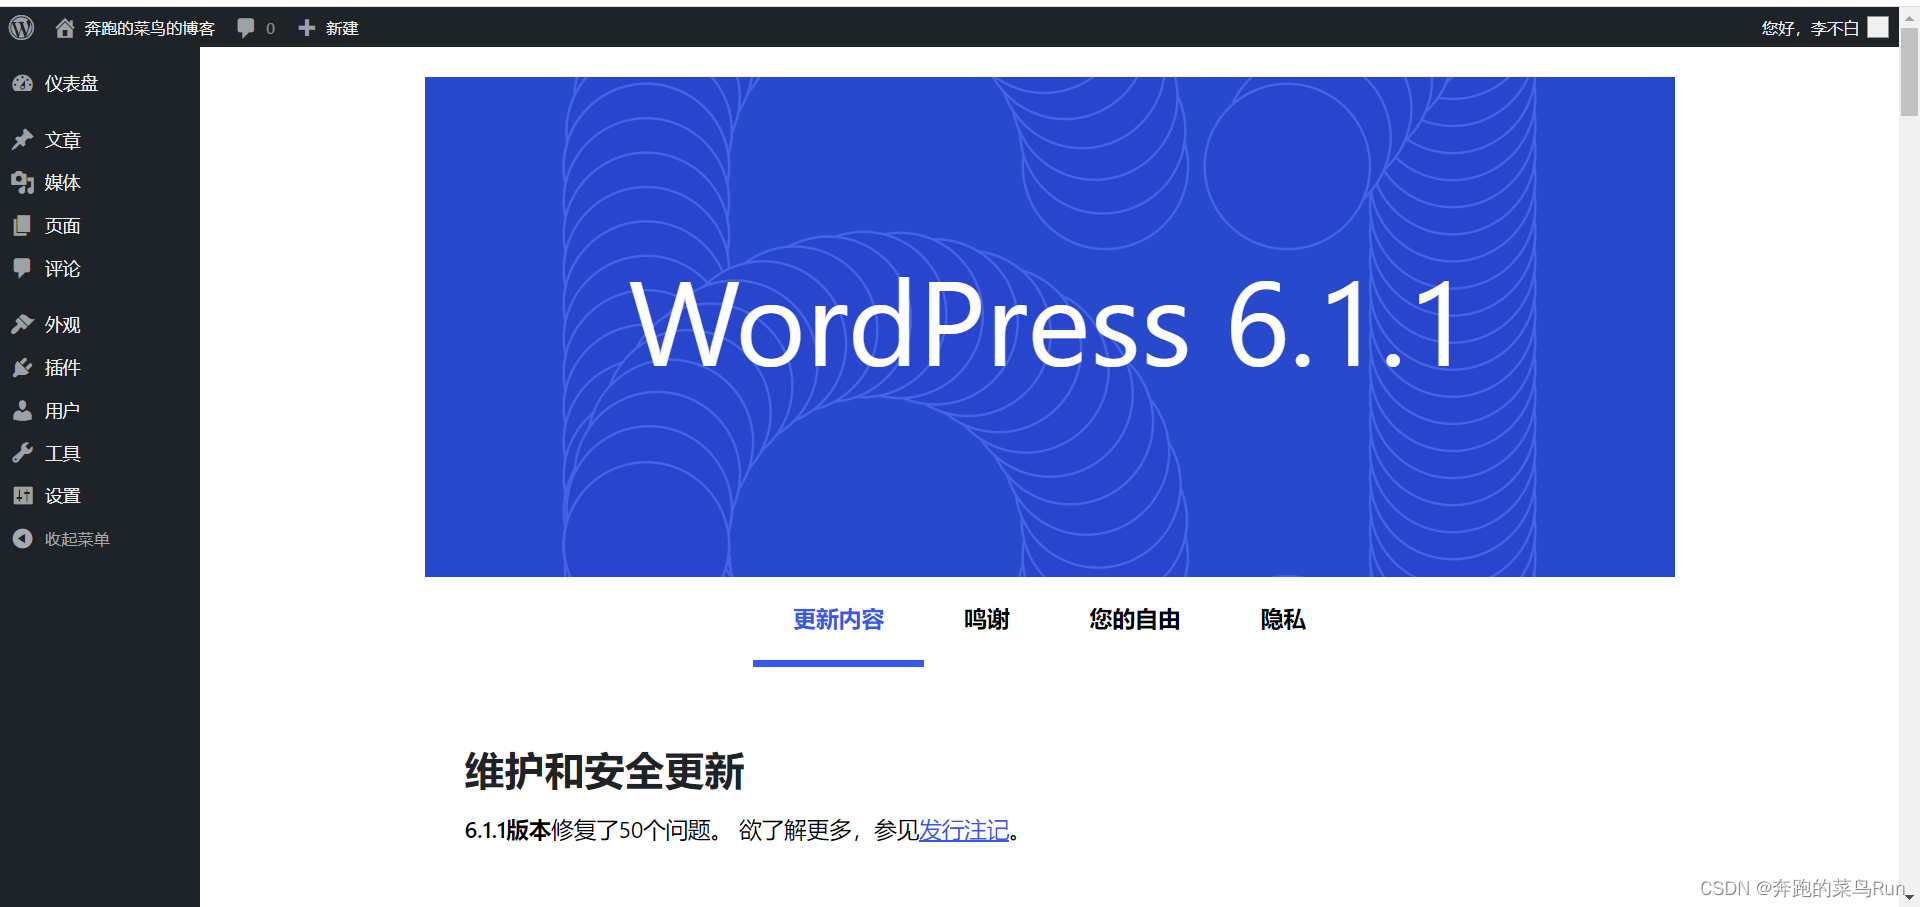
安装好后
至此,博客就可以顺利运行起来了,在你的电脑上只是这样的后台样子,别人访问的时候就可以看到你的博客首页了(可以自己用浏览器的无痕模式测试)
来源地址:https://blog.csdn.net/m0_63684495/article/details/128747688
--结束END--
本文标题: Linux通过wordpress创建个人博客( 终极详细版教程)保姆级
本文链接: https://lsjlt.com/news/384454.html(转载时请注明来源链接)
有问题或投稿请发送至: 邮箱/279061341@qq.com QQ/279061341
2024-02-29
2024-02-29
2024-02-27
2023-10-27
2023-10-26
2023-10-25
2023-10-21
2023-10-21
2023-10-18
2023-10-12
回答
回答
回答
回答
回答
回答
回答
回答
回答
回答
0