Python 官方文档:入门教程 => 点击学习
目录restful风格SpringBoot中的使用1.创建html表单页面2.在yml配置文件中开启rest表单支持3.编写controller层及对应映射处理4.启动服务,逐个访问
Rest风格支持(使用Http请求方式动词来表示对资源的操作)
因为html表单只支持发送get和post请求,所以当发送delete,put请求时,需要设定一个隐藏域,其name值必须为_method,value值为表单的请求方式(且delete,put的表单的method为post请求)。
用法: 表单method=post,隐藏域<input type="hidden" name="_method" value="PUT|DELETE">
<!DOCTYPE html>
<html lang="en">
<head>
    <meta charset="UTF-8">
    <title>首页</title>
</head>
<body>
    <fORM action="/user" method="get">
        <input type="submit" value="GET提交">
    </form>
    <hr>
    <form action="/user" method="post">
        <input type="submit" value="POST提交">
    </form>
    <hr>
    <form action="/user" method="post">
        <input type="hidden" name="_method" value="DELETE"><br>
        <input type="submit" value="DELETE提交">
    </form>
    <hr>
    <form action="/user" method="post">
        <input type="hidden" name="_method" value="PUT"><br>
        <input type="submit" value="PUT提交">
    </form>
</body>
</html>
# RestFul风格开启,开启支持表单的rest风格
spring:
  mvc:
    hiddenmethod:
      filter:
        enabled: true
package com.robin.boot.controller;

import org.springframework.WEB.bind.annotation.RequestMapping;
import org.springframework.web.bind.annotation.RequestMethod;
import org.springframework.web.bind.annotation.RestController;

@RestController
public class RestTestController {

    @RequestMapping(value = "/user",method = RequestMethod.GET)
    public String getUser(){
        return "GET user , 获取用户成功";
    }

    @RequestMapping(value = "/user",method = RequestMethod.POST)
    public String saveUser(){
        return "POST user, 保存用户成功";
    }

    @RequestMapping(value = "/user",method = RequestMethod.DELETE)
    public String delUser(){
        return "DELETE user, 删除用户成功";
    }

    @RequestMapping(value = "/user",method = RequestMethod.PUT)
    public String updateUser(){
        return "PUT user, 修改用户成功";
    }
}
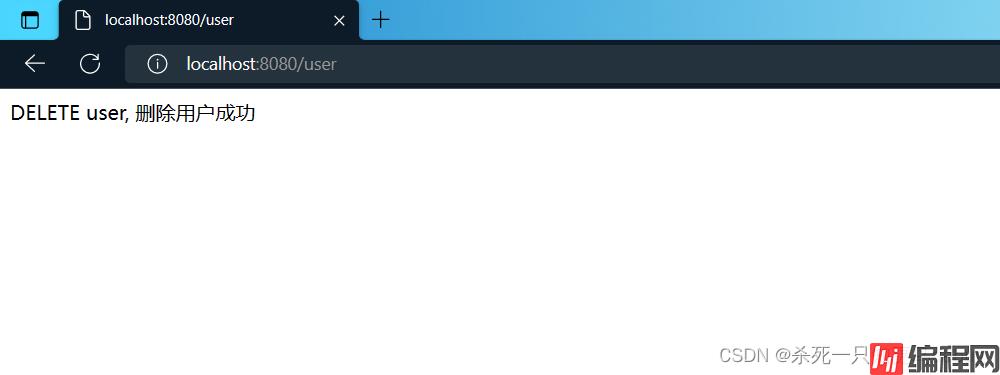
访问成功,对同一请求/user实现了,不同方式提交的不同处理。


到此这篇关于springboot中restful风格请求使用的文章就介绍到这了,更多相关springboot restful风格请求使用内容请搜索编程网以前的文章或继续浏览下面的相关文章希望大家以后多多支持编程网!
--结束END--
本文标题: springboot中restful风格请求的使用方法示例
本文链接: https://lsjlt.com/news/194198.html(转载时请注明来源链接)
有问题或投稿请发送至: 邮箱/279061341@qq.com QQ/279061341
2024-03-01
2024-03-01
2024-03-01
2024-02-29
2024-02-29
2024-02-29
2024-02-29
2024-02-29
2024-02-29
2024-02-29
回答
回答
回答
回答
回答
回答
回答
回答
回答
回答
0