目录首先我们需要搭建好页面布局js功能1JS功能2JS功能3JS功能4效果图如下: 首先我们需要搭建好页面布局 html的代码如下: <div class="cont
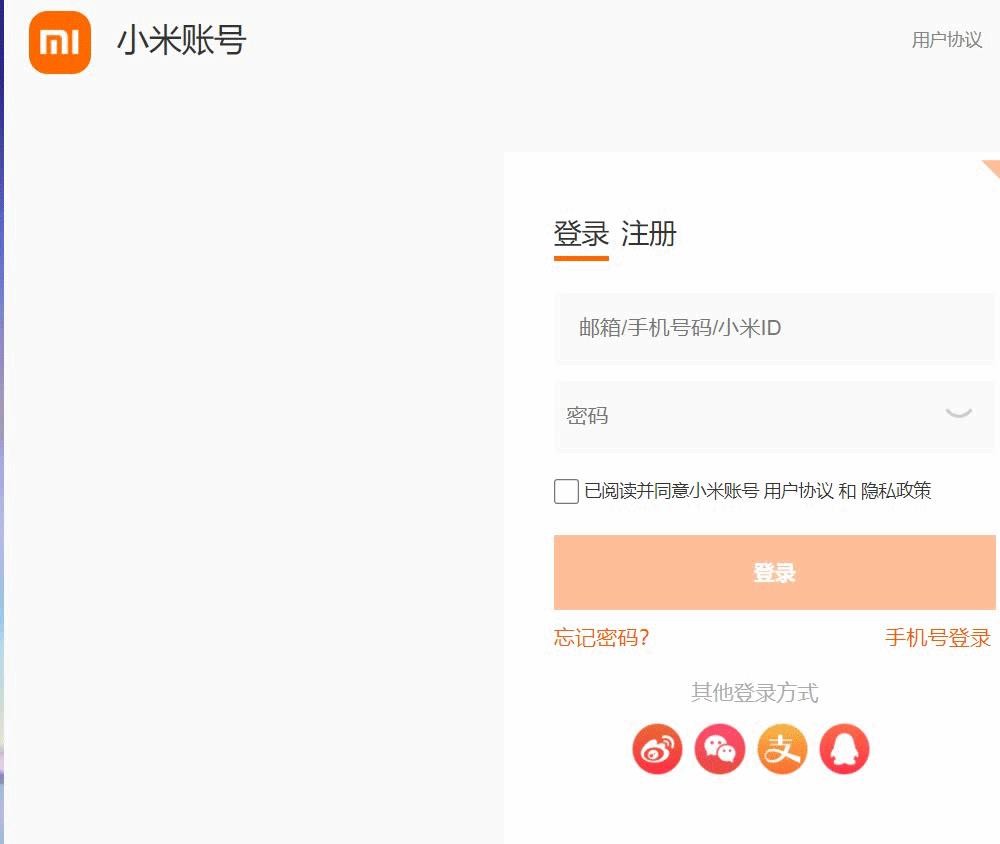
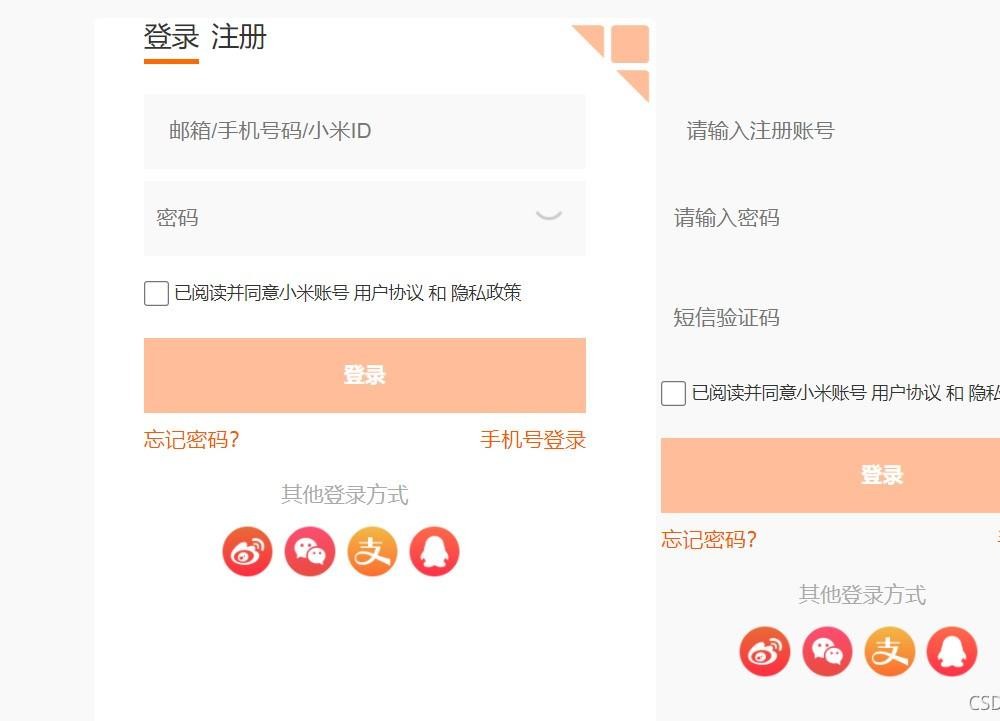
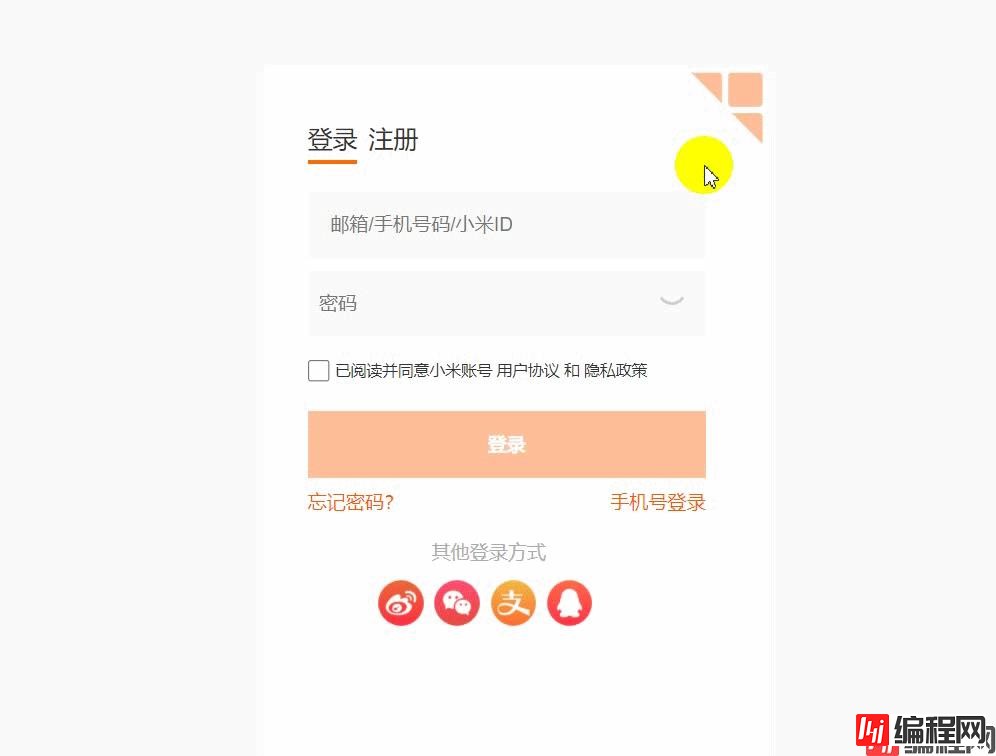
效果图如下:

html的代码如下:
<div class="contentrightbottom">
<div class="contentrightbottombox">
<div class="crbottomlogin">
<div class="login"><a href="#" rel="external nofollow" rel="external nofollow" rel="external nofollow" rel="external nofollow" rel="external nofollow" rel="external nofollow" >登录</a></div>
<div class="reGISt"><a href="#" rel="external nofollow" rel="external nofollow" rel="external nofollow" rel="external nofollow" rel="external nofollow" rel="external nofollow" >注册</a></div>
</div>
<div class="loginregistbox">
<ul>
<li>
<div class="crbottomcontent">
<input type="text" placeholder="邮箱/手机号码/小米ID" class="user">
<br>
<p class="pzh">请输入账号</p>
<div class="pwdeyebox">
<input type="passWord" placeholder="密码" class="pwd"><br>
<img src="close.png" alt="" class="eye">
</div>
<p class="pmm">请输入密码</p>
<input type="checkbox" class="checks">
<span>已阅读并同意小米账号</span>
<span>用户协议</span>
<span>和</span>
<span>隐私政策</span><br>
<button>登录</button><br>
<span class="forgetpwd"><a href="#" rel="external nofollow" rel="external nofollow" rel="external nofollow" rel="external nofollow" rel="external nofollow" rel="external nofollow" >忘记密码?</a></span>
<span class=" phonelogin"><a href="#" rel="external nofollow" rel="external nofollow" rel="external nofollow" rel="external nofollow" rel="external nofollow" rel="external nofollow" >手机号登录</a></span>
<p class="other">其他登录方式</p>
<div class="crbottomcontentimg">
<span><img src="share1.png" alt=""></span>
<span><img src="share2.png" alt=""></span>
<span><img src="share3.png" alt=""></span>
<span><img src="share4.png" alt=""></span>
</div>
</div>
</li>
<li>
<div class="crbottomcontentregist">
<input type="text" placeholder="请输入注册账号" class="ruser">
<p class="rpzh">请输入账号</p>
<br>
<input type="password" placeholder="请输入密码" class="rpwd">
<p class="rpmm">请输入密码</p><br>
<input type="number" class="rphone" placeholder="短信验证码">
<p class="rpyzm">请输入验证码</p><br>
<input type="checkbox" class="checks">
<span>已阅读并同意小米账号</span>
<span>用户协议</span>
<span>和</span>
<span>隐私政策</span><br>
<button>登录</button><br>
<span class="forgetpwd"><a href="#" rel="external nofollow" rel="external nofollow" rel="external nofollow" rel="external nofollow" rel="external nofollow" rel="external nofollow" >忘记密码?</a></span>
<span class=" phonelogin"><a href="#" rel="external nofollow" rel="external nofollow" rel="external nofollow" rel="external nofollow" rel="external nofollow" rel="external nofollow" >手机号登录</a></span>
<p class="other">其他登录方式</p>
<div class="crbottomcontentimg">
<span><img src="share1.png" alt=""></span>
<span><img src="share2.png" alt=""></span>
<span><img src="share3.png" alt=""></span>
<span><img src="share4.png" alt=""></span>
</div>
</div>
</li>
</ul>
</div>
</div>
<p class="conpany">小米公司版权所有-京ICP备10046444-京公网安备11010802020134号</p>
</div>
整个登录注册分为上下两个盒子:
上面的盒子装登录和注册两个文字盒子,作为JS的点击滑动按钮
下面的盒子使用小li分别装登录和注册两个盒子,然后让小li浮动起来,让登录注册两个盒子浮动在一行,然后给contentrightbottombox这个大盒子添加overfl:hidden属性,超出的隐藏起来之后我们就可以写JS功能代码了

点击登录注册进行切换

在CSS里面我们通过小li的浮动将登录和注册的盒子浮动在一排
当我们点击注册按钮的时候只需要让包裹小li的ul移动到注册盒子上面即可
当我们点击登录按钮的时候也只需要让ul移动到登录的盒子上面
代码如下:
  var registbtn = document.querySelector('.regist');
    var loginbtn = document.querySelector('.login');
    var loginregistbox = document.querySelector('.loginregistbox');
    var boxul = loginregistbox.querySelector('ul');

    registbtn.addEventListener('click', function () {
        boxul.style.transition = 'all 0.3s';
        boxul.style.transfORM = 'translateX(-414px)';
        registbtn.style.borderBottom = '4px solid #FF6900';
        loginbtn.style.borderBottom = 'none';

    });
    loginbtn.addEventListener('click', function () {
        boxul.style.transition = 'all 0.3s';
        boxul.style.transform = 'translateX(0px)';
        loginbtn.style.borderBottom = '4px solid #FF6900';
        registbtn.style.borderBottom = 'none';

});点击input盒子里面的文字缩小并往上移动

在小米官网的登录里面,它是使用lable标签来实现,我是直接给input里面的placeholder添加样式来实现
修改placeholder的样式我们是通过伪类的方式实现,并且给它定位让它缩小后移动到要求的位置,并且加上了过渡,看起来好看一点点
代码如下:
    var user = document.querySelector('.user');
    var pwd = document.querySelector('.pwd');
    var pzh = document.querySelector('.pzh');
    var pmm = document.querySelector('.pmm');

    user.addEventListener('focus', function () {
        user.style.border = '1px solid red';
        user.style.boxShadow = '0 0 1px 2px #FFDECC';
        user.style.backgroundColor = '#FCF2F3';
        user.style.transition = 'all 0.3s';
        user.setAttribute('class', 'user change1');

    });
.change1::placeholder{
 position: absolute;
 top: 5px;
 left: 20px;
 font-size: 12px;
color: #C1C1C1;
transition: all .3s;

}
.change2::placeholder{
   font-size: 17px;
       color: red;
       transition: all .3s;
}跳出提示"请输入账号"

在html添加一个p标签(其他标签也可以),在css里面修改他的样式并给它display样式让他隐藏起来
在js里面 失去焦点的时候判断文本框里面是否有值,有值就让他隐藏,否则就显示
代码如下:
user.addEventListener('blur', function () {

        user.style.border = 'none';
        user.style.boxShadow = 'none';
        user.style.transition = 'all .3s';
        if (user.value == '') {
            pzh.style.display = 'block';
            user.style.backgroundColor = '#FCF2F3';
            user.setAttribute('class', 'user change2');
        } else {
            pzh.style.display = 'none';
            user.style.backgroundColor = '#F9F9F9';
            user.style.fontSize = '17px';

            user.setAttribute('class', 'user change1');
        }
    });
.rpzh,.rpmm,.rpyzm{
    display: none;
    color: red;
    font-size: 12px;
    margin-top: 10px;
    margin-left: 40px;
    margin-bottom: -30px;
}显示密码和隐藏密码

定义一个flag变量来控制开关图片的切换和input中的type属性中的值
  var flag = 0;
    eyes.addEventListener('click', function () {
        if (flag == 0) {
            pwd.type = 'text';
            eyes.src = 'open.png';
            flag = 1;
        }
        else {
            pwd.type = 'password';
            eyes.src = 'close.png';
            flag = 0;
        }
});到此这篇关于javascript仿小米官网注册登录功能的实现的文章就介绍到这了,更多相关JavaScript 的内容请搜索编程网以前的文章或继续浏览下面的相关文章希望大家以后多多支持编程网!
--结束END--
本文标题: JavaScript仿小米官网注册登录功能的实现
本文链接: https://lsjlt.com/news/158072.html(转载时请注明来源链接)
有问题或投稿请发送至: 邮箱/279061341@qq.com QQ/279061341
2024-01-12
2023-05-20
2023-05-20
2023-05-20
2023-05-20
2023-05-20
2023-05-20
2023-05-20
2023-05-20
2023-05-20
回答
回答
回答
回答
回答
回答
回答
回答
回答
回答
0