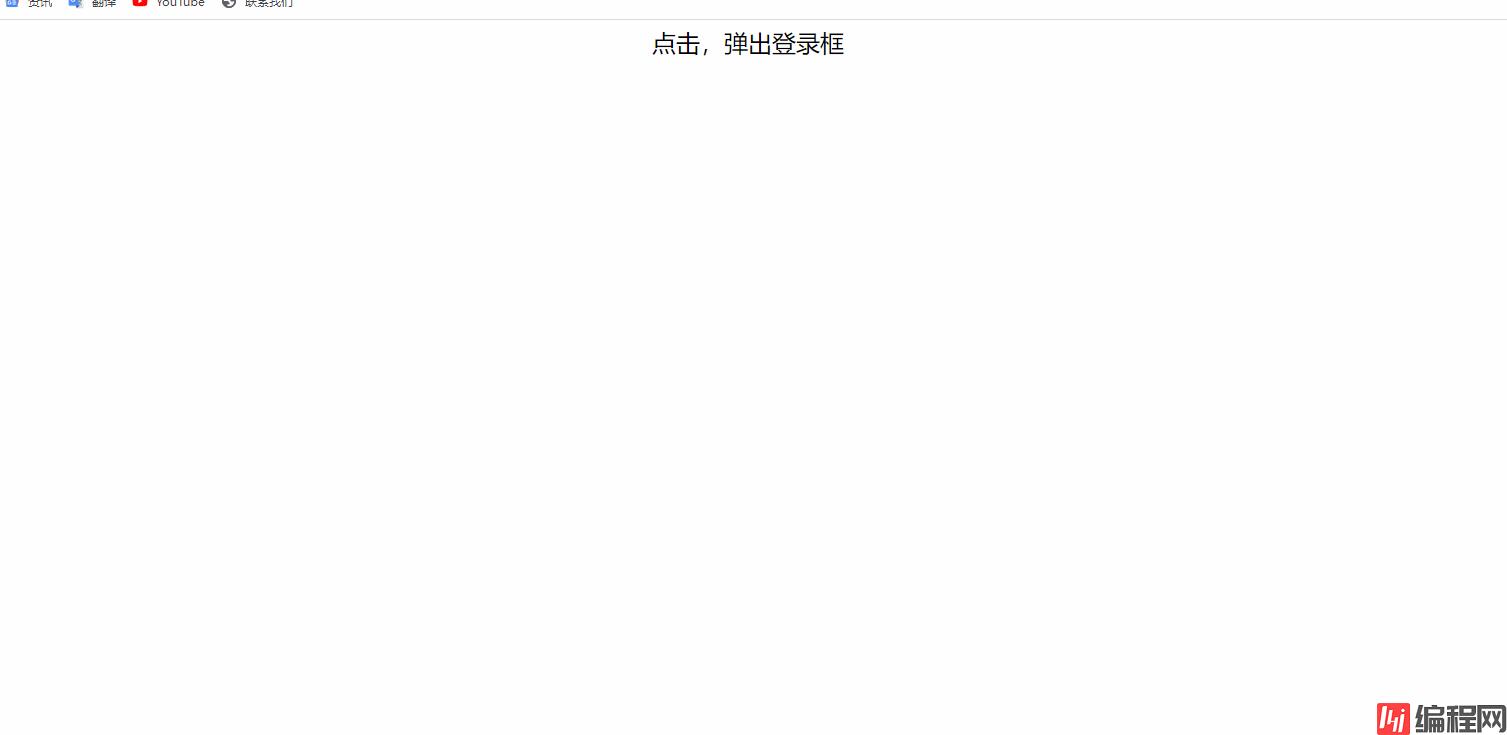
本文实例为大家分享了js实现拖动模态框的具体代码,供大家参考,具体内容如下 效果图: 需求分析: 点击登录后登录表单和遮罩层显示,点击关闭按钮隐藏。输入密码时可以明文查看或者隐藏。
本文实例为大家分享了js实现拖动模态框的具体代码,供大家参考,具体内容如下
效果图:

需求分析:
话不多说,我们直接上代码:
<!DOCTYPE html>
<html>

<head lang="en">
    <meta charset="UTF-8">
    <title></title>
    <style>
        .login-header {
            width: 100%;
            text-align: center;
            height: 30px;
            font-size: 24px;
            line-height: 30px;
        }

        ul,
        li,
        ol,
        dl,
        dt,
        dd,
        div,
        p,
        span,
        h1,
        h2,
        h3,
        h4,
        h5,
        h6,
        a {
            padding: 0px;
            margin: 0px;
        }

        .login {
            display: none;
            width: 512px;
            height: 280px;
            position: fixed;
            border: #ebebeb solid 1px;
            left: 50%;
            top: 50%;
            background: #ffffff;
            box-shadow: 0px 0px 20px #DDD;
            z-index: 9999;
            transfORM: translate(-50%, -50%);
        }

        .login-title {
            width: 100%;
            margin: 10px 0px 0px 0px;
            text-align: center;
            line-height: 40px;
            height: 40px;
            font-size: 18px;
            position: relative;
            cursor: move;
        }

        .login-input-content {
            margin-top: 20px;
        }

        .login-button {
            width: 50%;
            margin: 30px auto 0px auto;
            line-height: 40px;
            font-size: 14px;
            border: #ebebeb 1px solid;
            text-align: center;
        }

        .login-bg {
            display: none;
            width: 100%;
            height: 100%;
            position: fixed;
            top: 0px;
            left: 0px;
            background: rgba(0, 0, 0, .3);
        }

        a {
            text-decoration: none;
            color: #000000;
        }

        .login-button a {
            display: block;
        }

        .login-input input.list-input {
            float: left;
            line-height: 35px;
            height: 35px;
            width: 350px;
            border: #ebebeb 1px solid;
            text-indent: 5px;
        }

        .login-input {
            overflow: hidden;
            margin: 0px 0px 20px 0px;
        }

        .login-input label {
            float: left;
            width: 90px;
            padding-right: 10px;
            text-align: right;
            line-height: 35px;
            height: 35px;
            font-size: 14px;
        }

        .login-title span {
            position: absolute;
            font-size: 12px;
            right: -20px;
            top: -30px;
            background: #ffffff;
            border: #ebebeb solid 1px;
            width: 40px;
            height: 40px;
            border-radius: 20px;
        }
    </style>
</head>

<body>
    <div class="login-header"><a id="link" href="javascript:;" >点击,弹出登录框</a></div>
    <div id="login" class="login">
        <div id="title" class="login-title">登录会员
            <span><a id="closeBtn" href="javascript:void(0);" class="close-login">关闭</a></span>
        </div>
        <div class="login-input-content">
            <div class="login-input">
                <label>用户名:</label>
                <input type="text" placeholder="请输入用户名" name="info[username]" id="username" class="list-input">
            </div>
            <div class="login-input">
                <label>登录密码:</label>
                <input type="passWord" placeholder="请输入登录密码" name="info[password]" id="password" class="list-input">
            </div>
        </div>
        <div id="loginBtn" class="login-button"><a href="javascript:void(0);" id="login-button-submit">登录会员</a></div>
    </div>
    <!-- 遮盖层 -->
    <div id="bg" class="login-bg"></div>
    <script>
        // 1. 获取元素
        var login = document.querySelector('.login');
        var mask = document.querySelector('.login-bg');
        var link = document.querySelector('#link');
        var closeBtn = document.querySelector('#closeBtn');
        var title = document.querySelector('#title');
        // 2. 点击弹出层这个链接 link  让mask 和login 显示出来
        link.addEventListener('click', function() {
                mask.style.display = 'block';
                login.style.display = 'block';
            })
            // 3. 点击 closeBtn 就隐藏 mask 和 login
        closeBtn.addEventListener('click', function() {
                mask.style.display = 'none';
                login.style.display = 'none';
            })
            // 4. 开始拖拽
            // (1) 当我们鼠标按下, 就获得鼠标在盒子内的坐标
        title.addEventListener('mousedown', function(e) {
            var x = e.pageX - login.offsetLeft;
            var y = e.pageY - login.offsetTop;
            // (2) 鼠标移动的时候,把鼠标在页面中的坐标,减去 鼠标在盒子内的坐标就是模态框的left和top值
            document.addEventListener('mousemove', move)

            function move(e) {
                login.style.left = e.pageX - x + 'px';
                login.style.top = e.pageY - y + 'px';
            }
            // (3) 鼠标弹起,就让鼠标移动事件移除
            document.addEventListener('mouseup', function() {
                document.removeEventListener('mousemove', move);
            })
        })
    </script>
</body>

</html>--结束END--
本文标题: JS实现拖动模态框案例
本文链接: https://lsjlt.com/news/153284.html(转载时请注明来源链接)
有问题或投稿请发送至: 邮箱/279061341@qq.com QQ/279061341
2024-01-12
2023-05-20
2023-05-20
2023-05-20
2023-05-20
2023-05-20
2023-05-20
2023-05-20
2023-05-20
2023-05-20
回答
回答
回答
回答
回答
回答
回答
回答
回答
回答
0