计划来实现一个便签墙系列,这个东西做简单也简单,往复杂了做功能也很多,记录一下从零到有的开发过程吧,希望最后能把这个项目做得很完善。 首先是前后端分离架构,前端用Vue,后台我们就用
计划来实现一个便签墙系列,这个东西做简单也简单,往复杂了做功能也很多,记录一下从零到有的开发过程吧,希望最后能把这个项目做得很完善。
首先是前后端分离架构,前端用Vue,后台我们就用express,数据库用mongoDB吧。
在脑袋里过一下,最最开始,要完成一个怎样的雏形呢?先把用户登录管理放在一边,当然是便签的增删改查+显示啊!
那么,我们就来实现“初号机”,一张张便签的显示,增加,修改,删除。
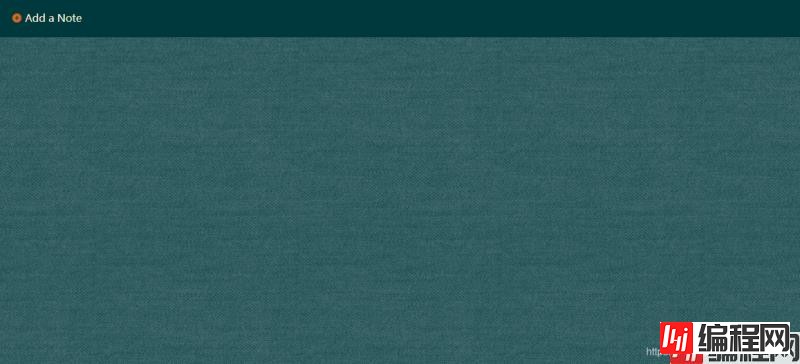
先别管接口,先把纯前端的问题解决先,我们先来一个像模像样的“黑板”,对了,这里推荐一个网站https://www.transparenttextures.com/,可以生成你喜欢的壁纸素材,于是就有了:
好了,我们要在这块黑板上“贴上”我们的便签了,这一块就是CSS的东西了,这个就看大家的美术设计功底了,我随意了:
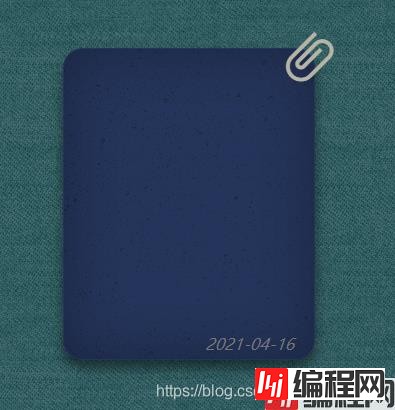
那么重要的一点是,在这块背景板上,便签就应该是可以随意贴在你想要的位置,所以对于便签,用户应该可以拖拽并记录位置。
所以将便签div采取position: absolute,然后用top: y px和left: x px来实现定位。
于是我们考虑单个便签对象包含的属性有:
x: 便签距容器左侧距离, left的值
y: 便签距容器上边界距离, top得值
txt: 便签的内容
title: 标题
color: {
bg: "", // 背景色
pin: "" // 回形针颜色
}
接下来我们就来实现便签的拖动:
(1) 在便签的div上绑定鼠标点击函数:
@mousedown="mousedown($event)"
(2) 实现拖动:
mousedown: function(event) {
      let _this = this;
      if (!this.isEdit) {
        this.startX = event.x;
        this.startY = event.y;
        this.note.moving = true;
        document.onmousemove = event => {
          if (!_this.note.moving) return false;

          let dx = event.x - _this.startX;
          let dy = event.y - _this.startY;

          if (
            _this.note.x + dx <= 0 ||
            _this.note.x + dx >= _this.width - 250 ||
            _this.note.y + dy <= 60
          ) {
            return false;
          }

          _this.note.x1 = _this.note.x + dx;
          _this.note.y1 = _this.note.y + dy;
        };
        document.onmouseup = () => {
          if (!this.isEdit) {
            this.note.moving = false;
            this.note.x = this.note.x1;
            this.note.y = this.note.y1;
            this.saveNote();
            document.onmousemove = null;
            document.onmouseup = null;
          }
        };
      }
    }
初始记录x和y的副本为x1,y1。用startX和startY记录下最开始鼠标按下的位置,然后在拖动过程中和原始值计算偏移量,赋值给x1和y1进行定位,在鼠标抬起时更新x,y为最终值。
这里有个关键点就是,如果用@mousemove,会导致在鼠标拖动过快的情况下,便签不能及时跟随鼠标,鼠标就会移出div,造成拖动失效。
所以这里只把mousedown绑定在目标上,而把mousemove和mouseup绑定在document上,这样就不会担心鼠标移快后出了便签导致便签卡住了。
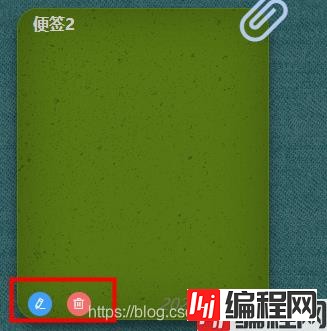
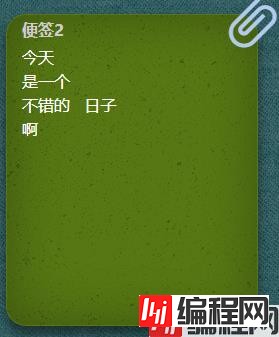
这里设计一个按钮,鼠标hover上去后,显示按钮;点击编辑按钮,让便签内容变成可编辑的状态,当内容区域blur的时候自动保存。
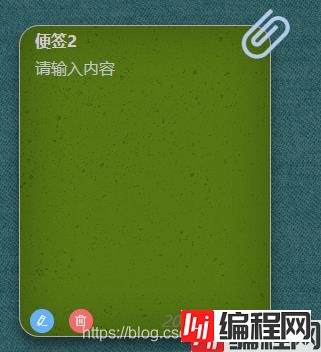
由于div便签没有blur事件,所以在编辑状态下,将内容区域变为textarea:
 <div
      class="note-content"
      v-if="!isEdit"
      v-html="content"
      :ref="'note' + index"
    ></div>
    <el-input
      v-else
      class="note-content my-textarea"
      type="textarea"
      placeholder="请输入内容"
      :autosize="{ minRows: 10 }"
      v-model="content"
      :ref="'note' + index"
      @blur="handleChange"
></el-input>很明显,这里的内容得用innerHTML结果保存,因为我们要保存换行回车空格这些样式,使显示保持一致,所以在获取编辑的字符串我们要用正则进行替换:
this.content = this.content
.replace(/\r\n/g, "<br/>")
.replace(/\n/g, "<br/>")
.replace(/\s/g, " ");
变成编辑状态时,我们要把形式再转换一下给textarea:
this.content = this.content
.replace(/ /g, " ")
.replace(/<br\/>/g, "\r\n");
express框架这里就不再赘述了,我们用monGoose连接mongodb数据库,创建controller文件夹,增加note.js来实现数据库操作:
// controller/note.js
const Notes = require("../model/notes");
var mongoose = require('mongoose');
module.exports = {
  updateNote(obj) {
    if (!obj.params._id) {
      obj.params._id = new mongoose.mongo.ObjectID();
    }
    return Notes.findByIdAndUpdate(
      obj.params && obj.params._id,
      {
        $set: obj.body
      },
      {
        upsert: true,
        new: true,
        setDefaultsOnInsert: true
      }
    )
      .then(function (newobj) {
        return Promise.resolve({
          status: 200,
          messgae: "OK"
        });
      })
      .catch((err) => {
        return Promise.reject(err);
      });
  },
  getNotes() {
    return new Promise(function (resolve, reject) {
      Notes.find()
        .then(function (newobj) {
          resolve(newobj);
        })
        .catch((err) => {
          reject(err);
        });
    });
  },
  deleteNoteById(_id) {
    return Notes.findByIdAndDelete(_id)
      .then(function (newobj) {
        return Promise.resolve({
          status: 200,
          messgae: "OK"
        });
      })
      .catch((err) => {
        return Promise.reject(err);
      });
  }
};
这里先简单写写,还可以进一步封装好返回结果。
创建model文件夹,增加note.js存放Schema:
// model/note.js
var mongoose = require("mongoose");
var Schema = mongoose.Schema;

// 声明一个数据集 对象
var noteSchema = new Schema({
  txt: {
    type: String,
    required: false
  },
  x: {
    type: Number
  },
  y: {
    type: Number
  },
  color: {
    type: Object
  },
  title:{
    type: String,
    default: "未命名"
  },
  createTime: {
    type: Date,
    default: Date.now
  }
});
mongoose.set("useCreateIndex", true);
mongoose.set('useFindAndModify', false);
// 将数据模型暴露出去
module.exports = mongoose.model("Notes", noteSchema, "notes");
所以,在拖动结束时、便签blur时都要自动保存。
于是数据库里就会保存我们的便签了:
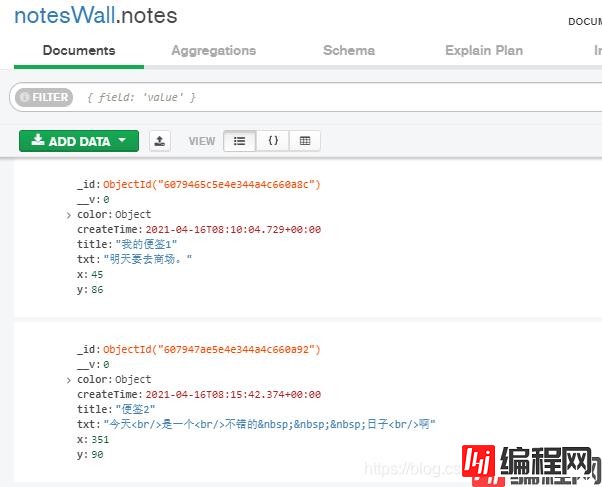
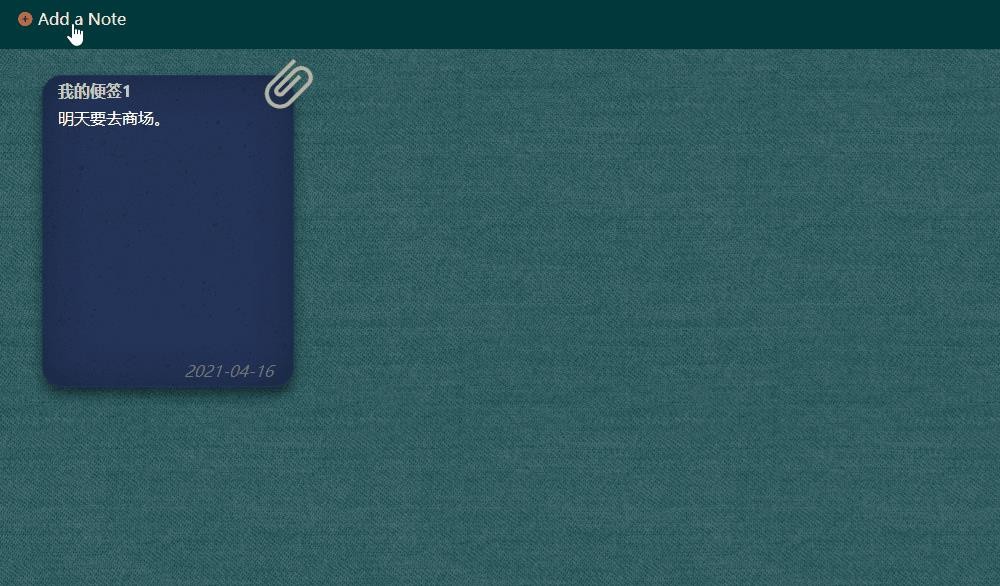
于是一个初步的雏形完成了,我们创建便签,拖动,编辑,删除,这些都是实时保存的,刷新页面后便签的位置都是能保留的。
下面看看效果:
接下来,还有好多任务清单没做呢,随便一想,功能上能完善的就很多,例如:用户管理、时间分类、多条件查询、便签内容支持富文本、便签支持自定义样式、备忘提醒功能等等。
再接再厉,任重道远~~~~
大家也可关注一下Cavans小游戏系列:
《VUE实现一个Flappy Bird~~~》
《VUE+canvas 实现桌面弹球消砖块小游戏》
《VUE+Canvas实现雷霆战机打字类小游戏》
到此这篇关于VUE+Express+MongoDB前后端分离实现一个便签墙的文章就介绍到这了,更多相关vue前后端分离便签墙内容请搜索编程网以前的文章或继续浏览下面的相关文章希望大家以后多多支持编程网!
--结束END--
本文标题: VUE+Express+MongoDB前后端分离实现一个便签墙
本文链接: https://lsjlt.com/news/123873.html(转载时请注明来源链接)
有问题或投稿请发送至: 邮箱/279061341@qq.com QQ/279061341
2024-01-12
2023-05-20
2023-05-20
2023-05-20
2023-05-20
2023-05-20
2023-05-20
2023-05-20
2023-05-20
2023-05-20
回答
回答
回答
回答
回答
回答
回答
回答
回答
回答
0